
Web Design :: Lessons :: Uploading Sites
Managing Sites
 A website can be made up of hundreds of different files that could include web pages, images, videos, and documents. Organizing the files that make up your website isn't just a nicety, it is required. Any files that are outside the root folder of your website will not appear when you upload the website to the internet. Below are the steps you should follow to organize a new website. You only have to complete the first four steps once, but the rest of the steps will have to be completed again if you switch to a different computer. The first three steps only need to be completed when you are making a brand new site. The rest of the steps need to be completed whenever you use a new computer to edit your website.
- Create a new folder to serve as the root folder. You should probably save this folder in your Google drive folder. Give the folder a name that reflects the purpose of this website.
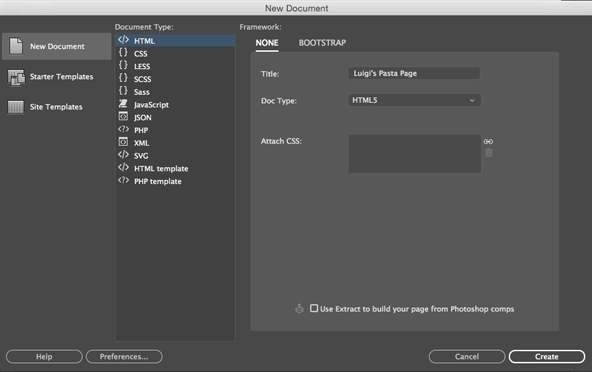
- In Dreamweaver, go to File>New... and create a new HTML file.
- Give the document a title that reflects the purpose of the page.
- Save the new HTML file as "index.html" in your root folder.
It is important that you save regularly in Dreamweaver, and you should save any new web page before you start adding external content such as images to it. We now have to set up a website so you can keep all of your website files together and upload them to the internet.
- Go to Site>Manage Sites.
- Click on the "New Site" button.
- Choose a "Site Name" for your site that reflects the purpose of the website.
- Click on the folder icon next to Local Site Folder and select your website's root folder.
Server Settings
FTP stands for File Transfer Protocol and is the system you will use to upload images and files to your website, which resides on a computer called a server.. FTP is simply a network protocol that allows two computers to exchange data. In this case, our two computers are the computer that hosts your files (Google Drive) and the computer that hosts your website (the server that hosts the YHSCS website). The steps below will help you set up the remote setting for your website so you can upload it to the internet.
- Go to the "Servers" category.
- Click on the + button to add a new server.
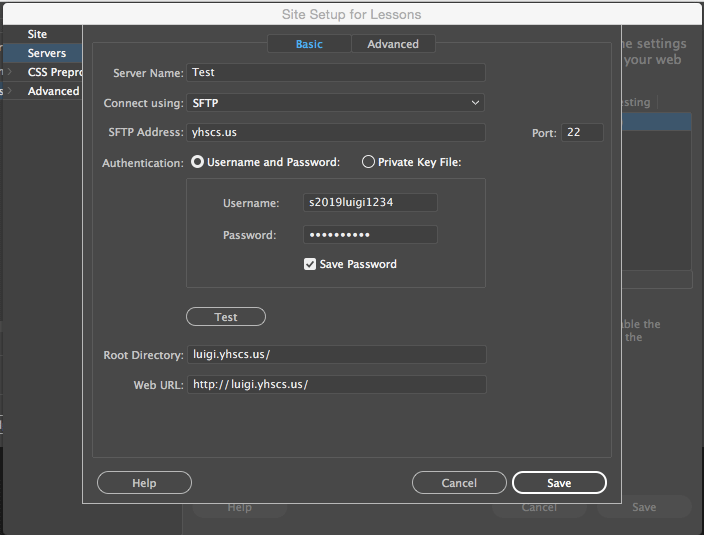
- Give the server a name so you know what project it is.
- Connect using "SFTP."
- The SFTP Address should be yhscs.us.
 The Root Directory should be your first name, followed by yhscs.us. For example, luigi.yhscs.us would be the host directory for a student named Luigi. If there are other students in the class with your same first name, you may have to put the first initial of your last name as well.
- Your Username for the FTP server should be a lowercase 's', your graduation year, full first name, and the last four digits of your ID number. For example, s2019luigi1234.
- Your Password for the FTP server should be "yhs" followed by your full ID number.
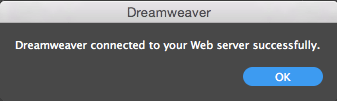
- Hit the test button to ensure your settings are correct. You should see a message like the one to the right if you connected successfully.
Creating a Remote Folder
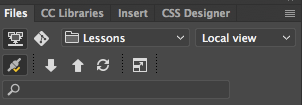
If you are creating a brand new site, your next step should be to create a folder on the web server that will hold all of the files for your website. You do not have to complete the following steps in this section if you've already completed them on a different computer. On the upper-right of the screen you should see the Files Panel. It should be set on "Local view," which means you are seeing the files. You are going to be using the Files Panel to access your files on the internet.
- Click on "Local view" and change it to "Remote server" to see your files on the internet.
- Right-click in some empty space in the Files Panel and create a "New Folder."
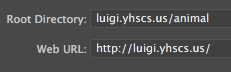
- Name the folder based on the host directory for your project. For example, the host directory for the Animal Page project is "animal."
 Now that you've created a folder on the internet where you will upload your files, you need to change the server information for your site.
- Go to Site>Manage Sites.
- Double-click on the site you are editing.
- Click on "Servers" and double-click on the server you need to edit.
- Add the name of the folder you just created to the end of the Root Directory.
Uploading Files
Once you have set up a connection to your FTP site you can upload or download your files. Uploading (or putting) your files means putting the files on your web server. Downloading (or getting) files means getting files off your website. If the files you are getting or putting already exist then the old files will be replaced. If you attempt to replace a newer file with an older one Dreamweaver will warn you first. The Files Panel is the area where you will do this.
You can use the Put File(s) button (up arrow) to put individual files on your website. You can access the website by typing the entire host directory in a web browser. For example, you could type luigi.yhscs.us/pasta/ to access Luigi's pasta website. You can access any of your projects by going to the Student Sites section of this website.
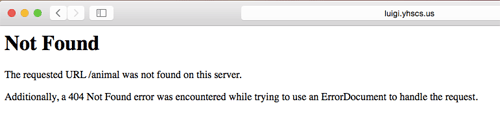 If you get a 404 Not Found error. It means you did something wrong when uploading your site. Here are a few possible mistakes you could have made:
- You didn't use the Put File(s) button to upload your files.
- The files you wanted to upload were not selected when you hit the up arrow.
- You didn't name the remote folder correctly (capitalization matters).


